
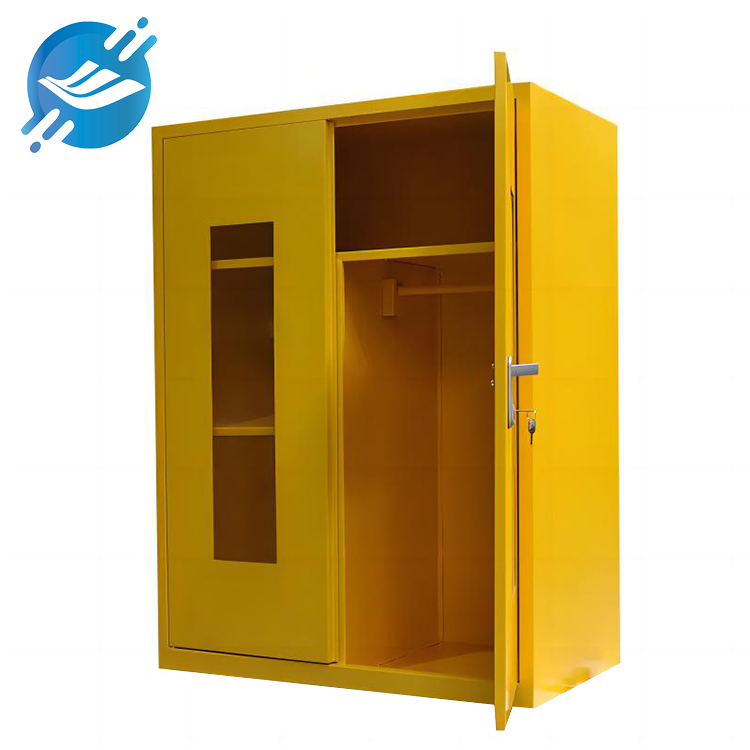
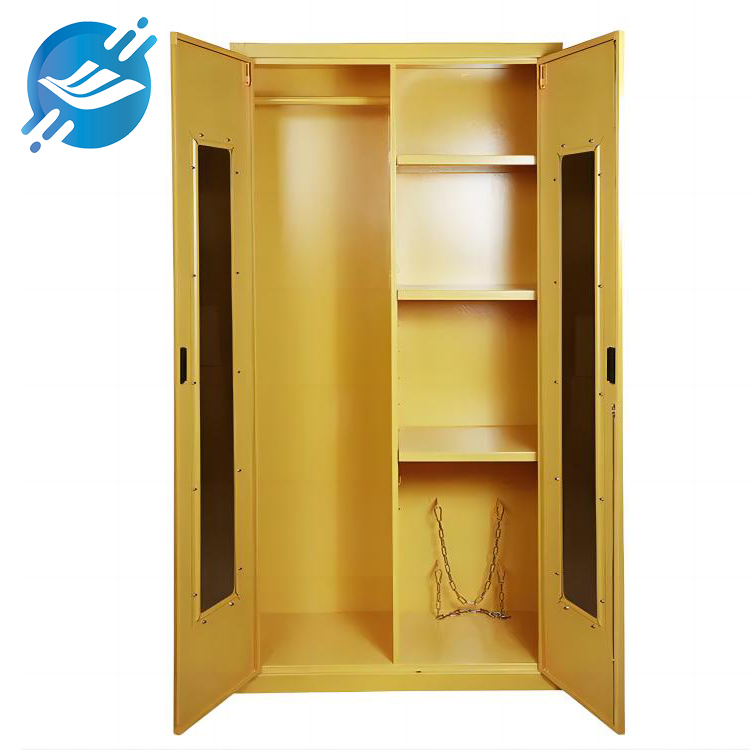
A metal file cabinet can be an essential piece of office furniture, providing both functionality and style. However, over time, it might become scratched, rusty, or just outdated in terms of color. Luckily, with a bit of effort and creativity, you can restore and refresh your metal file cabinet. Whether you’re trying to add a personal touch or simply breathe new life into an old piece, painting your metal file cabinet is a great way to achieve that. This guide will walk you through the steps to successfully paint a metal file cabinet, from preparation to finishing touches.
Before diving into the painting process, it’s important to understand the benefits of painting your metal file cabinet. Over time, metal cabinets can accumulate scratches, dents, and rust that may not only detract from their appearance but can also reduce their lifespan. Here’s why painting your metal file cabinet is a good idea:
Refresh Its Appearance: If the cabinet has seen better days, a fresh coat of paint can transform it into something that matches your decor.
Protection Against Rust: The right type of paint will act as a protective layer against moisture and rust.
Customization: You can choose colors or finishes that complement your workspace, whether it’s matte, gloss, or metallic.
Durability: Properly painted cabinets last longer and maintain their functionality over time.
To achieve a professional-looking result when painting a metal file cabinet, it’s essential to use the right materials. Here’s a list of the basic supplies you will need:
Cleaning Supplies: Soap, water, and a cloth or sponge to clean the cabinet thoroughly.
Sandpaper: A medium or fine grit (preferably 150–220) to smooth out rough spots and prepare the surface.
Primer: A metal primer that is designed to adhere to metal surfaces and prevent rust.
Spray Paint or Paint for Metal Surfaces: Choose a paint specifically designed for metal to ensure good adhesion and durability.
Drop Cloth or Plastic Sheeting: To protect your surrounding area from paint splatters.
Painter’s Tape: To cover areas you don’t want to paint (e.g., the hardware or interior).
Paint Tray and Roller or Paint Sprayer: Depending on the application method, you can use a roller or sprayer for an even coat.
3. Step 1: Prepare the Metal File Cabinet
The preparation process is crucial to ensure the paint sticks properly and provides a smooth, durable finish. Here’s what to do:
Clean the Metal File Cabinet
Start by removing any dust, dirt, and grime from the surface of the metal file cabinet. Use a sponge and warm, soapy water to wipe it down. If your file cabinet has grease spots, use a degreaser to remove them. Allow the cabinet to dry completely before proceeding to the next step.
Remove Hardware and Doors
For a cleaner, more professional finish, it’s best to remove the handles, locks, and any other hardware from the metal file cabinet. This will prevent paint from getting onto these parts and allow for better coverage. If your cabinet doors are removable, take them off as well to ensure easy access to all areas.
Sand the Surface
Use sandpaper to roughen up the surface of the metal file cabinet. Sanding helps the primer and paint adhere better. Focus on any areas with rust or old paint and lightly sand these until smooth. Once finished, wipe away any sanding dust with a damp cloth and let it dry.
Priming is essential when painting metal file cabinets, especially if they are rusted or have existing paint. A good primer will help the paint adhere to the metal and provide better coverage.
Apply Metal Primer
Choose a metal-specific primer that will protect against rust and provide a solid base for the paint. Apply a thin, even coat of primer to the entire cabinet using a spray can or a paint roller. Be sure to cover all sides, including the edges and corners.
Allow the primer to dry according to the manufacturer’s instructions. This usually takes about 1–2 hours, depending on the type of primer used and the room’s temperature and humidity.
5. Step 3: Paint the Metal File Cabinet
Once the primer is dry, it’s time to apply the paint. Depending on your preference, you can use spray paint or a brush/roller for this step. Spray paint tends to be quicker and results in a smoother finish, while using a roller or brush may give you more control, especially in hard-to-reach areas.
Use Spray Paint or Roller
If you’re using spray paint, hold the can about 6–8 inches away from the surface of the cabinet and apply light, even coats of paint. Start from the top of the cabinet and work your way down to avoid drips. Allow each coat to dry completely before applying additional layers. You may need 2–3 coats of paint, depending on the color and type of paint used.
If you’re using a roller, pour the paint into a tray and roll it onto the cabinet surface in long, even strokes. Be sure to use a paint roller designed for smooth surfaces to avoid texture marks.
Focus on Even Coverage
Be sure to cover every part of the metal file cabinet, including the back, sides, and inside edges. Pay special attention to corners and edges where paint is prone to missing. Ensure each coat is smooth and free from runs or streaks.
6. Step 4: Let the Paint Dry
After the final coat of paint is applied, let the metal file cabinet dry completely before handling it. The drying time will depend on the type of paint used and the environment. Usually, it takes 2–4 hours for the paint to become touch-dry. However, for optimal results, it’s best to let it dry for 24 hours before reassembling the hardware and moving the cabinet.
7. Step 5: Reassemble the Cabinet
Once the paint is dry, it’s time to put everything back together. Reattach the hardware, handles, locks, and doors that you removed earlier. Ensure everything is securely fixed and ready for use.
8. Tips for Maintaining Your Newly Painted Metal File Cabinet
To keep your newly painted metal file cabinet looking its best, follow these maintenance tips:
Avoid Scratches: Be gentle when placing objects in and around the cabinet to avoid scratching the paint.
Clean Regularly: Dust the cabinet regularly to maintain its appearance. Use a soft cloth to avoid damaging the paint.
Touch Up When Needed: If you notice chips or scratches in the paint, use a small brush to touch up the affected areas promptly.
Conclusion
Painting a metal file cabinet is an excellent way to breathe new life into your office space. With the right preparation, materials, and techniques, you can transform a dull and outdated file cabinet into a modern, functional, and stylish piece of furniture. By following these simple steps, you’ll not only extend the life of your metal file cabinet but also enhance its appearance, making it a better fit for your workspace. Whether you’re refreshing an old cabinet or customizing it for a fresh look, this project is a great way to add value and style to your office furniture.
Post time: Dec-08-2025


